🤖 DIY Obstacle Avoidance Robot (Arduino-Based)
Build your own smart robot car that detects obstacles and avoids them using an ultrasonic sensor and servo-mounted scanning system — no remote needed! Ideal for beginners and Arduino enthusiasts.
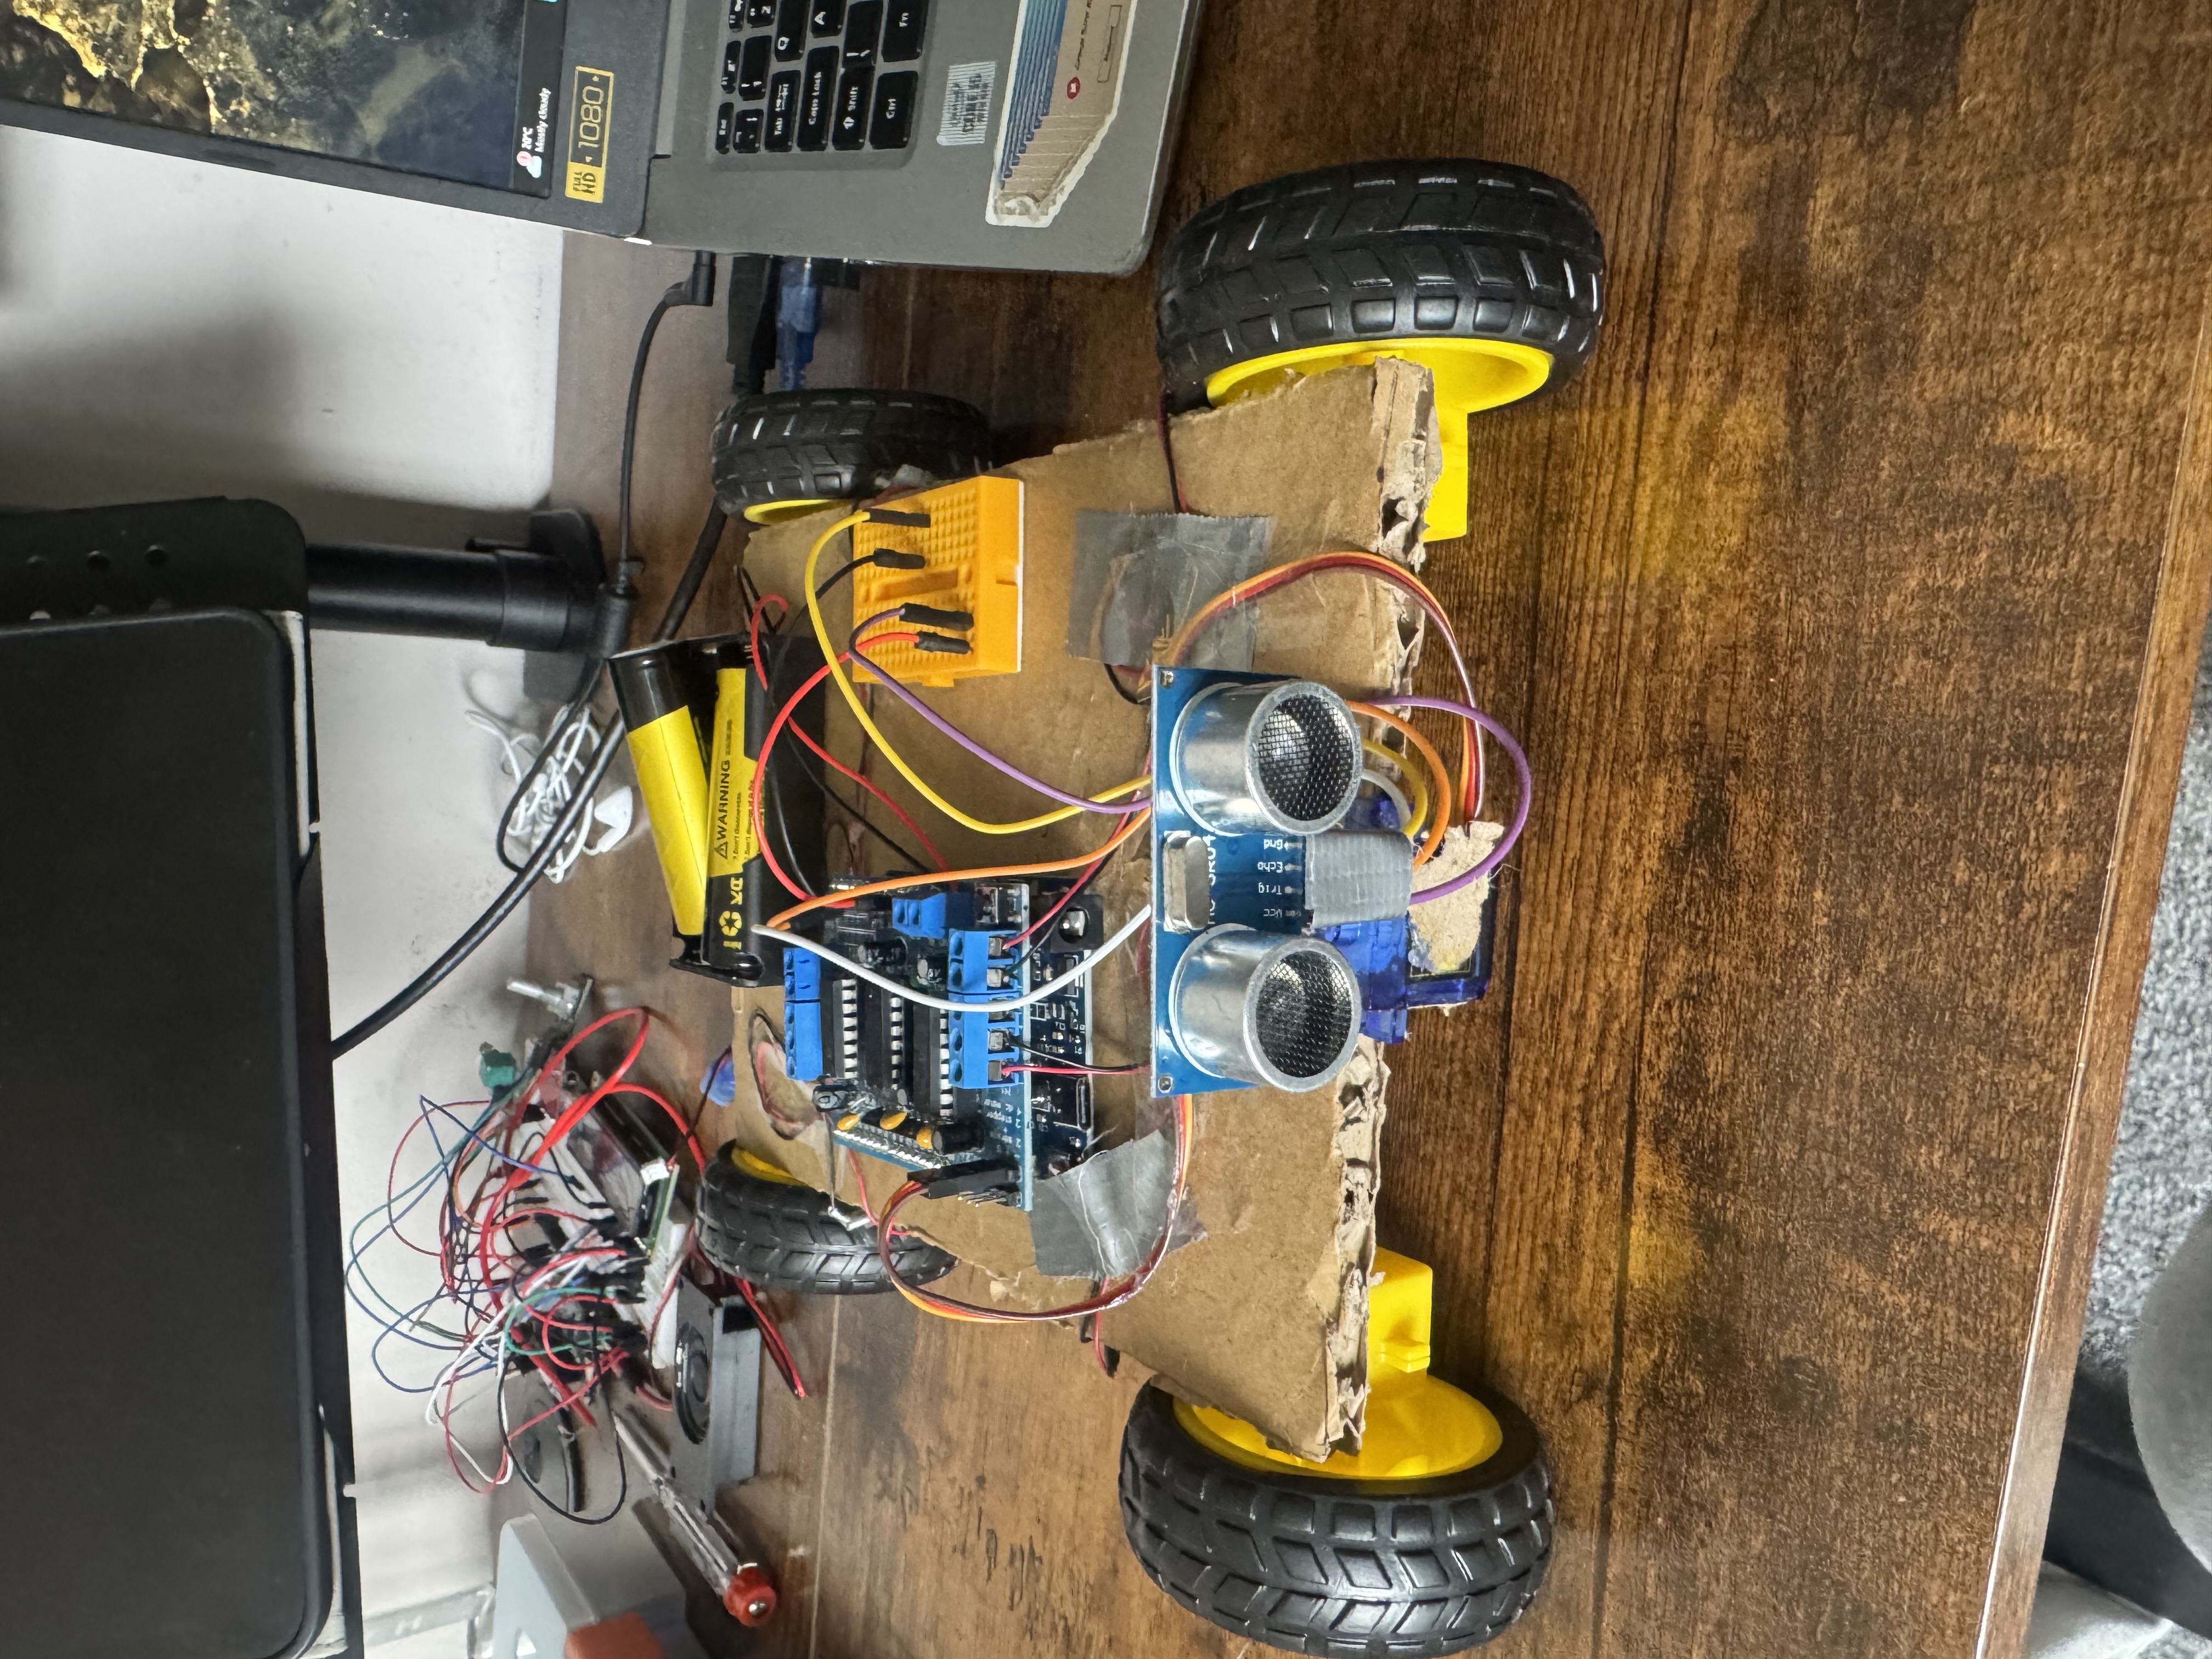
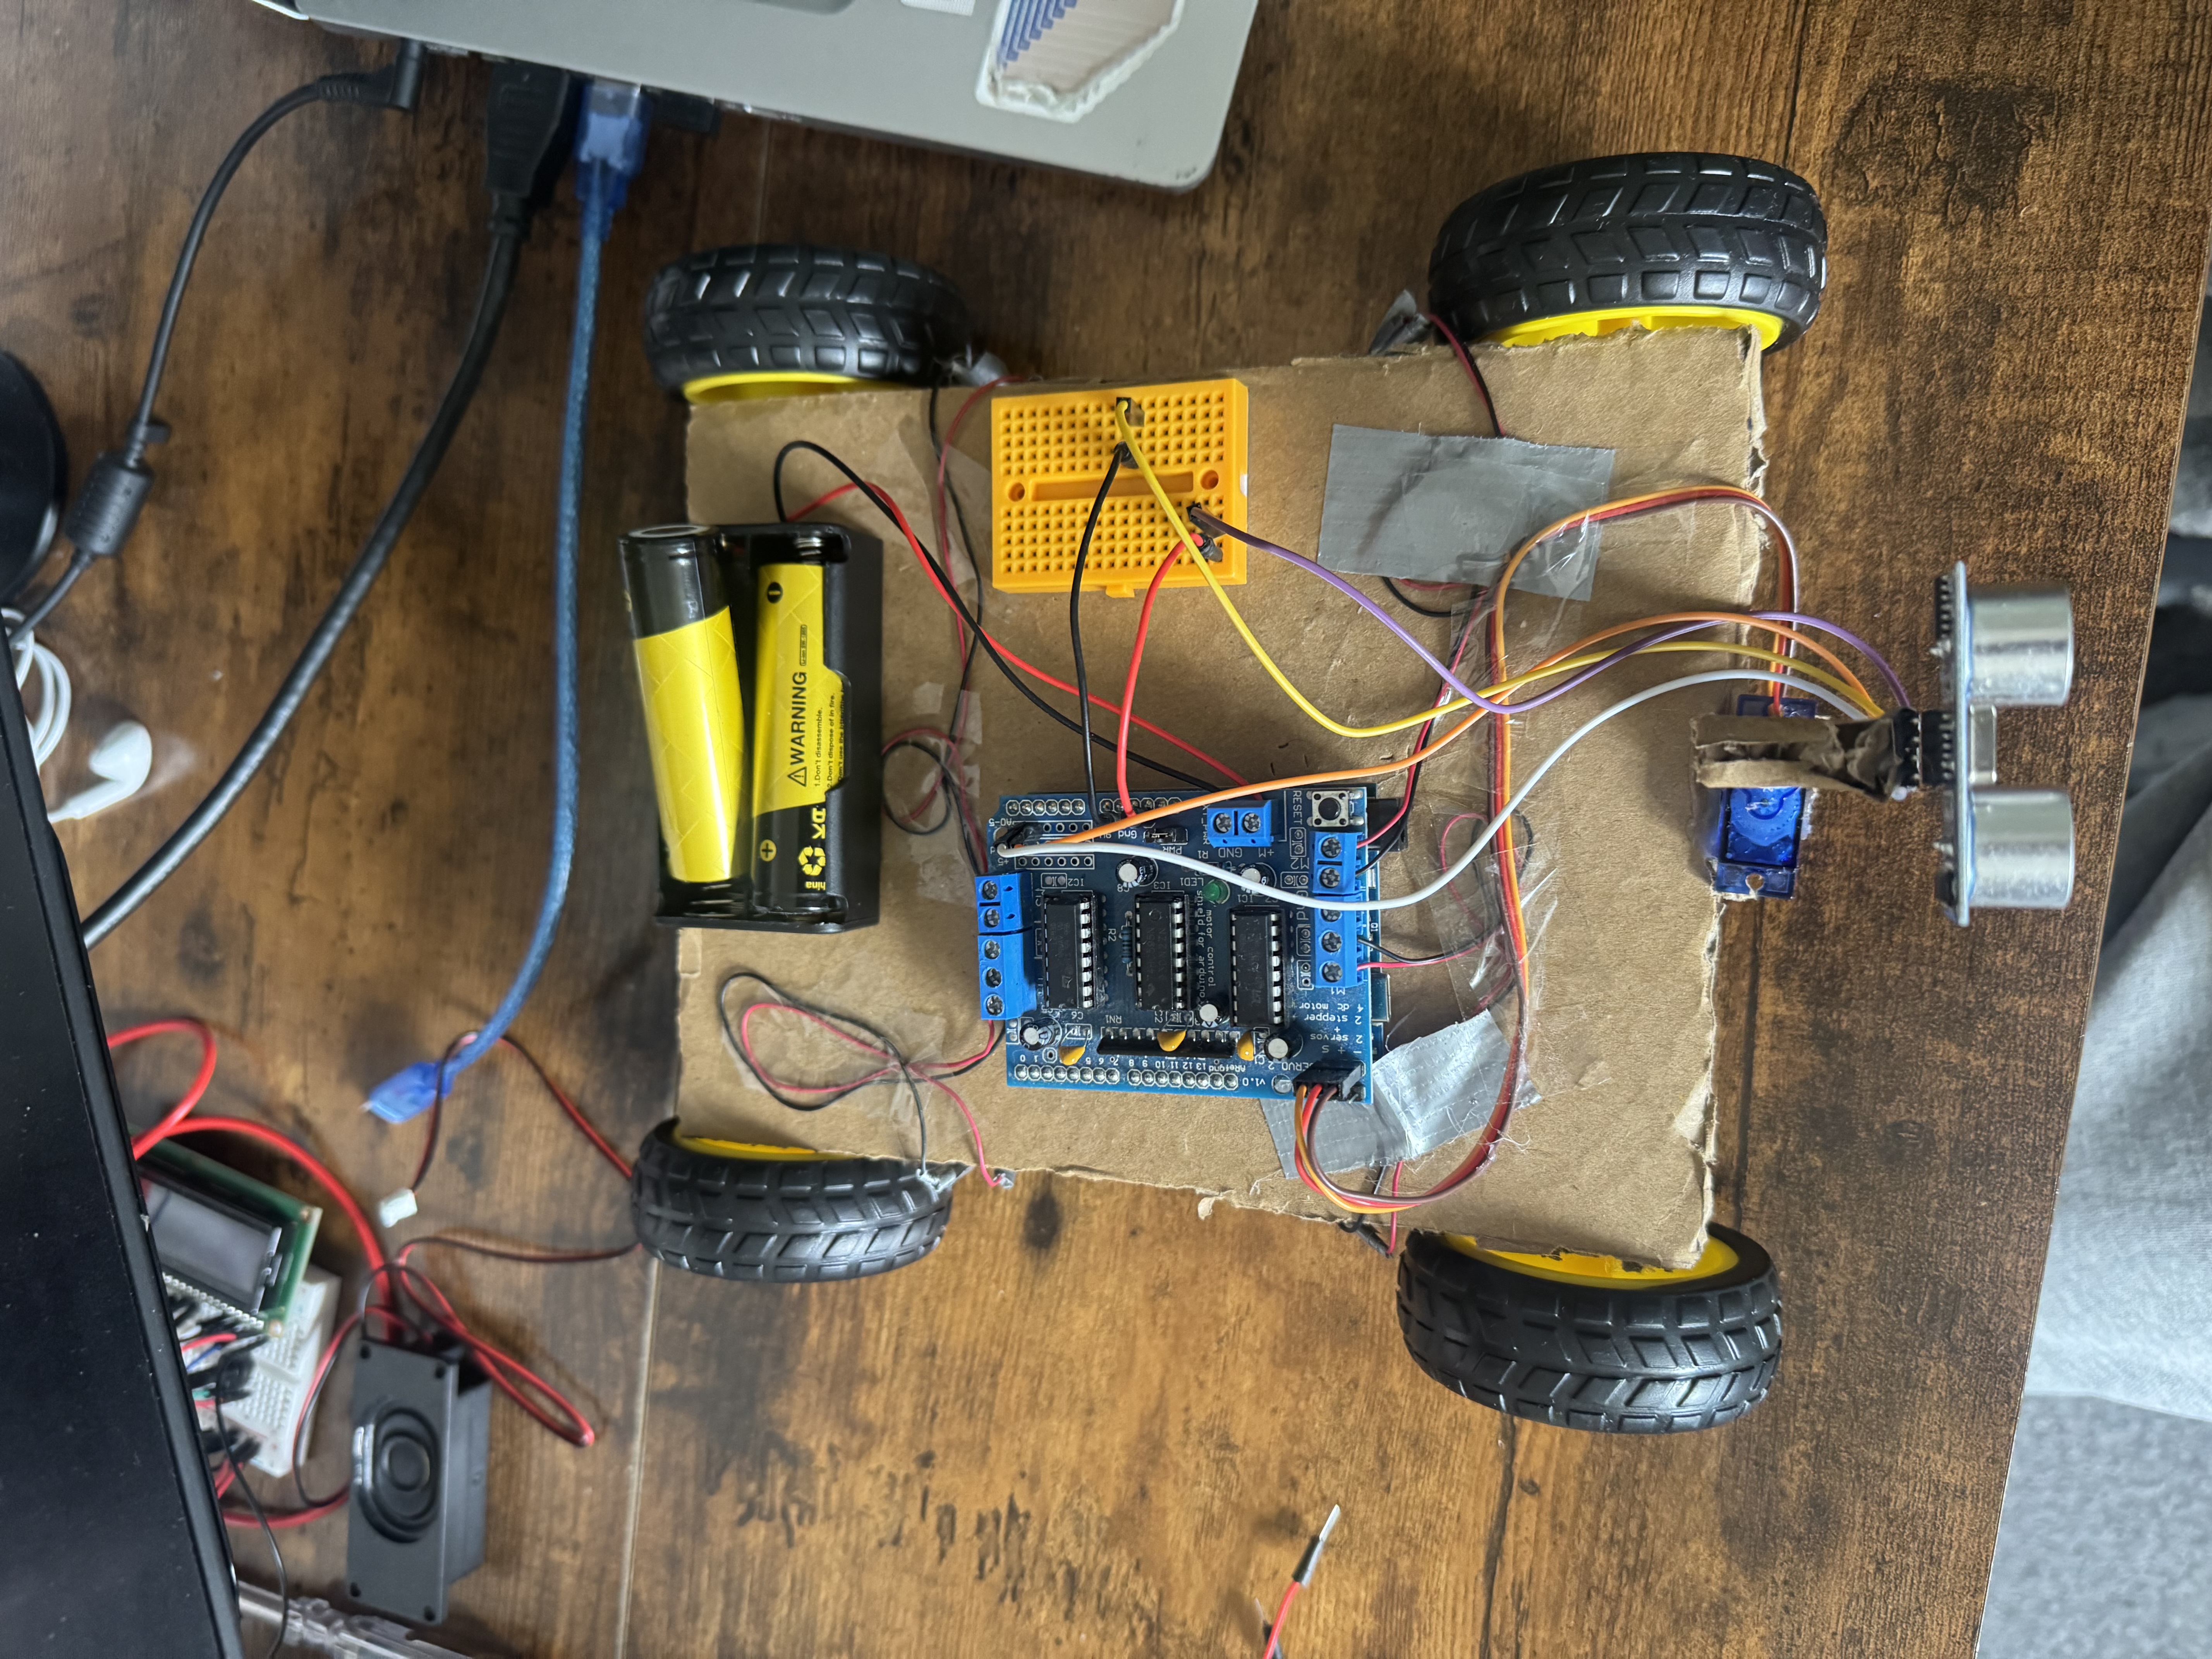
📸 Robot Preview
🧰 Parts & Materials Used
| Component | Quantity | Notes | Amazon Link to parts |
|---|---|---|---|
| Arduino UNO (clone) | 1 | Main microcontroller board | Link |
| L298P Motor Shield | 1 | Controls 4 DC motors via Arduino | Link |
| DC Gear Motors + Wheels | 4 | Standard yellow TT motors + black wheels | Link |
| 18650 Li-ion Batteries (3.7V) | 2 | Connected in series for ~7.4V total | Link |
| 18650 Battery Holder | 1 | Holds and connects the batteries safely | Link |
| Ultrasonic Sensor (HC-SR04) | 1 | Detects obstacles (rangefinder) | Link |
| SG90 Servo Motor | 1 | Rotates the ultrasonic sensor | Link |
| Breadboard | 1 | For connecting sensor power/ground | Link |
| Jumper Wires | ~6 | For wiring everything up | Link |
| Cardboard or Acrylic Baseplate | 1 | Acts as the chassis | |
| Glue Gun & Tape | As needed | For assembly and securing components | Link |
Disclaimer: The Amazon links provided above are affiliate links. This means I may earn a small commission at no extra cost to you if you make a purchase through them.
🛠️ Assembly Instructions
1. Build the Chassis
- Cut a rectangle out of strong cardboard.
- Attach the 4 wheels and motors to the corners using hot glue or tape.
- Leave space at the front for the servo and ultrasonic sensor.
2. Attach Components
- Mount the Arduino UNO clone onto the chassis.
- Stack the L298P motor shield directly on top of the Arduino.
- Connect the 2x 18650 battery pack to the EXT_PWR terminal on the motor shield.
- + wire → +M
- – wire → GND
- Make sure the EXT_PWR jumper is installed.
3. Connect the Motors
- Motor wiring:
- Front Right → M1
- Front Left → M2
- Back Left → M3 (has reversed polarity)
- Back Right → M4
- Use tape to fix wires neatly under the base.
4. Ultrasonic Sensor Setup
- Mount the SG90 servo at the front center.
- Glue the ultrasonic sensor (HC-SR04) on top of the servo horn to act as the robot's "eyes".
5. Wiring the Ultrasonic Sensor
- Trig → A4
- Echo → A5
- VCC → 5V (breadboard from motor shield)
- GND → GND (breadboard)
6. Connect the Servo
- Plug the servo signal wire into the SERVO_2 header (mapped to pin D9).
- Connect the power and ground to the breadboard (5V and GND).
📥 Arduino Code
You can download or view the full Arduino sketch used in this project below:
👉 Download the Arduino Code and Library on GitHub
This code controls:
- All four motors using the L298P-based motor shield
- The SG90 servo motor to sweep the ultrasonic sensor left and right
- Obstacle detection and turning logic using the HC-SR04 sensor
🛠 Required Arduino Libraries
Before uploading the code, make sure you’ve added the following libraries to your Arduino IDE:
- ✅ AFMotor
- Official name:
Adafruit Motor Shield library - Install via Library Manager in Arduino IDE or
- Download the library from the GitHub page and the
- In the arduino IDE Go to: Sketch > Include Library > Add .ZIP Library...
- Then select the .zip file from your computer and click Open
- This is required to control the motors through the shield
- Official name:
- ✅ Servo
- This is built-in with the Arduino IDE (no external install needed)
⚠️ If these libraries aren’t installed, the code won’t compile.
🚀 Uploading the Code
- Download the
.inofile from the GitHub link above - Open it in the Arduino IDE
- Select the correct Board (Arduino UNO) and Port
- Click the ✅ Upload button
- Disconnect USB and power your robot via the 2x 18650 battery pack
⚙️ Optional Tweaks
- Increase
motorSpeedvalue to 100–160 for faster motion. - Adjust
stopDistfor closer or more cautious obstacle detection. - Add IR remote control or Bluetooth for manual override (I will work on this in a future upgrade!).