Arduino Tilt Arcade Console
Published: May 8, 2026
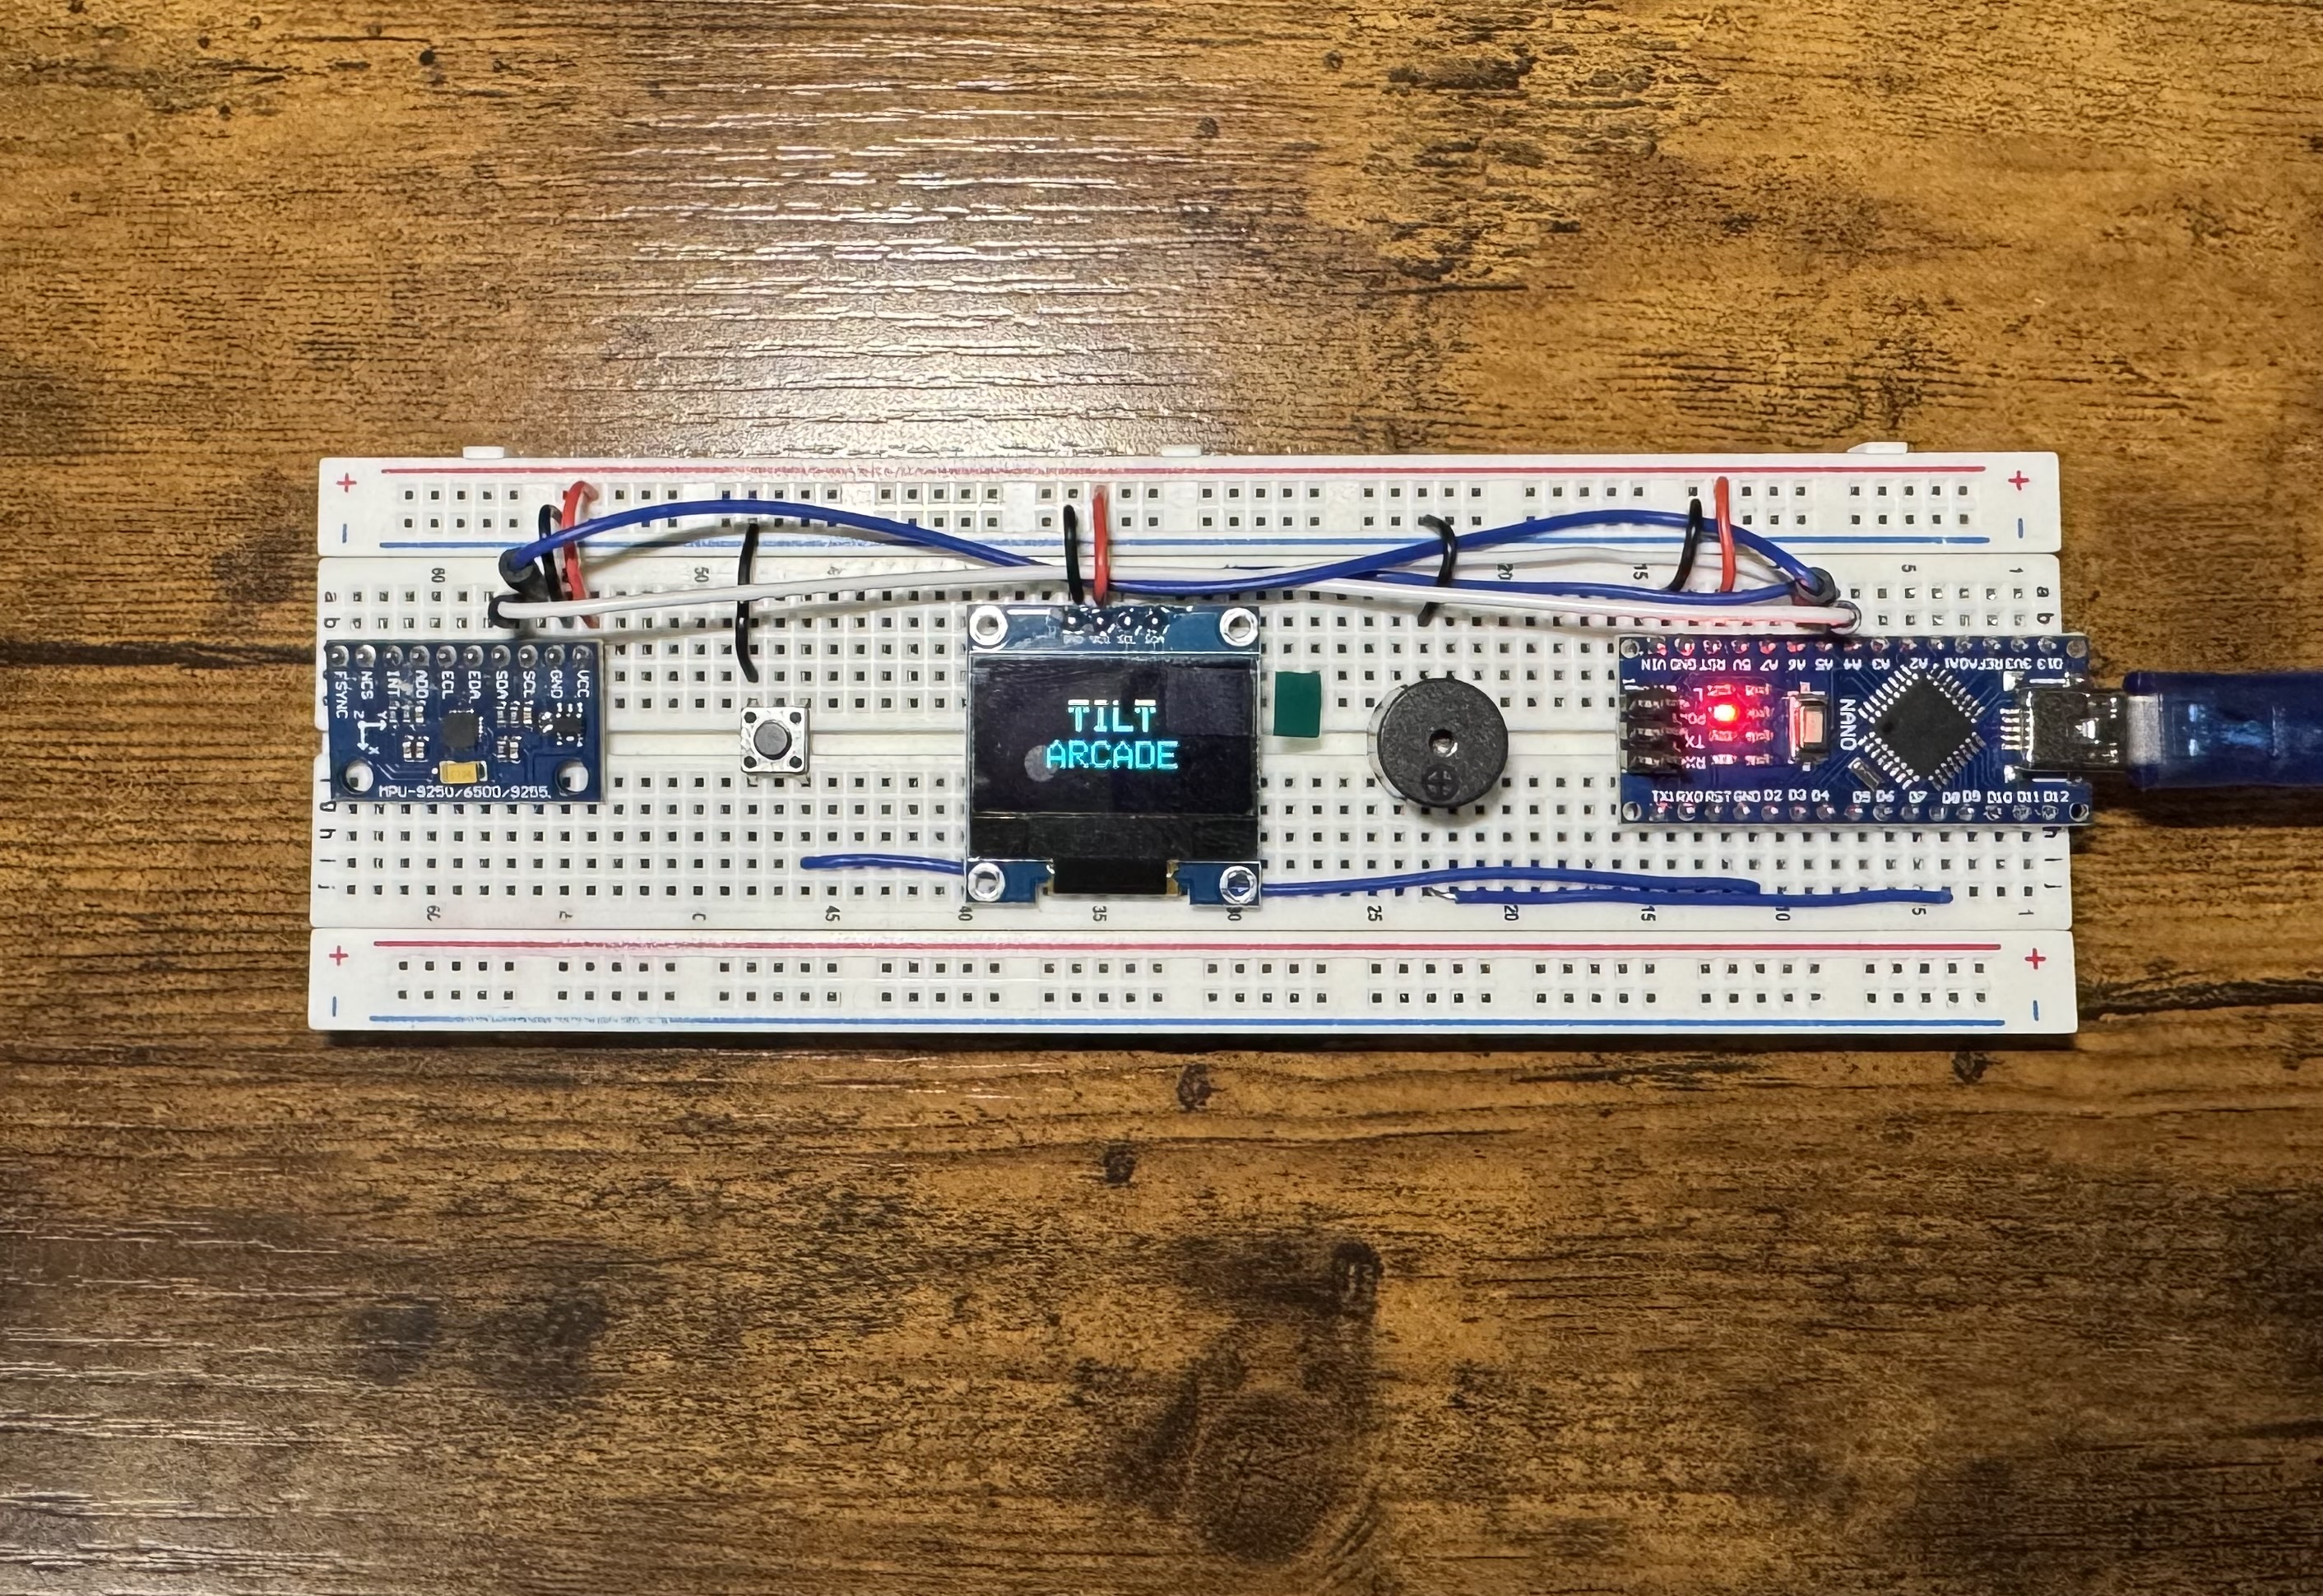
This project is a small tilt-controlled arcade console built using an Arduino Nano, a 128×64 OLED display, an MPU-6500 motion sensor, a buzzer, and a single push button.
By tilting the controller, the player can control games directly on the OLED screen. The final build includes two playable games: Tilt Snake and Space Dodger, complete with sound effects, saved high scores, pause functionality, and per-game calibration.
The entire system runs on a compact breadboard setup powered by an Arduino Nano.
📸 Preview
⚙️ How It Works
- The Arduino Nano controls the entire console.
- A 128×64 OLED display shows menus, gameplay, scores, timers, and game-over screens.
- An MPU-6500-family motion sensor detects tilt movement.
- At startup, the console calibrates a neutral holding position so movement feels natural.
- The Arduino continuously reads tilt data from the IMU and converts it into player movement on the screen.
- A deadzone is used to reduce unwanted drifting from tiny hand movements.
- A single push button controls menu navigation, starting games, pause/resume, returning to the menu, and recalibration.
- A passive buzzer provides sound effects for menu navigation, game start, scoring, game over, and new high scores.
🎮 Included Games
Tilt Snake
Guide the snake using tilt controls while collecting blinking food items. The snake gradually speeds up as your score increases.
Space Dodger
Control a small spaceship and avoid incoming asteroids for as long as possible. The difficulty increases over time as asteroid spawning becomes faster and more challenging.
🧰 Components Used
| Component | Purpose |
|---|---|
| Arduino Nano | Main microcontroller running the console |
| 0.96-inch I2C OLED display | Displays menus and gameplay |
| MPU-6500 IMU motion sensor | Detects tilt and movement |
| Passive buzzer | Plays sound effects |
| Push button | Controls menu navigation and gameplay |
| Breadboard | Holds the circuit together |
| Jumper wires | Connects all components |
| USB cable / power bank | Powers the system |
🔌 Wiring Instructions
OLED Display Wiring
| OLED Pin | Arduino Nano Pin |
|---|---|
| GND | GND |
| VCC | 5V |
| SDA | A4 |
| SCL | A5 |
MPU-6500 Motion Sensor Wiring
| IMU Pin | Arduino Nano Pin |
|---|---|
| GND | GND |
| VCC | 5V |
| SDA | A4 |
| SCL | A5 |
Both the OLED and IMU communicate over I2C, so they share the same SDA and SCL pins.
Push Button Wiring
| Button Leg | Arduino Nano Pin |
|---|---|
| One leg | D2 |
| Other leg | GND |
The button uses INPUT_PULLUP, so it reads HIGH when not pressed and LOW when pressed.
Passive Buzzer Wiring
| Buzzer Pin | Arduino Nano Pin |
|---|---|
| Positive | D9 |
| Negative | GND |
📦 Installing Libraries
For Arduino IDE users, install these libraries before uploading the code:
| Library | Purpose |
|---|---|
| Adafruit SSD1306 | Controls the OLED display |
| Adafruit GFX Library | Provides graphics functions |
Arduino IDE Installation Steps
- Open Arduino IDE.
- Go to Sketch > Include Library > Manage Libraries.
- Search for Adafruit SSD1306 and install it.
- Search for Adafruit GFX Library and install it.
The IMU is handled using direct register reads, so the Adafruit MPU6050 library is not required.
⚙️ Optional: PlatformIO Setup
This project was originally developed using PlatformIO in VS Code. The full project files are available on GitHub here: Arduino Tilt Arcade Console GitHub repository.
The main files are:
| File | Purpose |
|---|---|
| src/main.cpp | Main game logic |
| platformio.ini | PlatformIO configuration |
| README.md | Project documentation |
The PlatformIO dependencies used are:
lib_deps =
  adafruit/Adafruit SSD1306
  adafruit/Adafruit GFX Library
🚀 Uploading the Code
Arduino IDE Users
- Connect the Arduino Nano via USB.
- Open the project code.
- Install the required libraries.
- Select Tools > Board > Arduino Nano.
- Select Processor > ATmega328P or ATmega328P (Old Bootloader).
- Select the correct COM port.
- Click Upload.
- If uploading fails, try switching to the Old Bootloader processor option.
PlatformIO Users
- Open the project folder in VS Code.
- Connect the Arduino Nano.
- Build the project.
- Upload the project.
- Open Serial Monitor if needed.
The project was configured with:
monitor_speed = 115200🧾 Arduino Code
The main project code is stored in src/main.cpp. The full code includes OLED rendering, the menu system, motion sensor handling, calibration logic, EEPROM high score saving, game logic, sound effects, and pause/menu controls.
Note: The code shown below is only a selected snippet from the project. It is not the full program. For the complete version, visit the GitHub repository:
Language: C++
#include <Arduino.h>
#include <EEPROM.h>
#include <Wire.h>
#include <Adafruit_GFX.h>
#include <Adafruit_SSD1306.h>

// Selected snippet only.
// The full project code includes the complete menu, game logic,
// OLED rendering, IMU calibration, EEPROM storage, and sound effects.

constexpr uint8_t SCREEN_WIDTH = 128;
constexpr uint8_t SCREEN_HEIGHT = 64;
constexpr uint8_t BUTTON_PIN = 2;
constexpr uint8_t BUZZER_PIN = 9;
constexpr uint8_t OLED_ADDRESS = 0x3C;

constexpr uint8_t IMU_ADDR_PRIMARY = 0x68;
constexpr uint8_t IMU_ADDR_SECONDARY = 0x69;
constexpr uint8_t REG_ACCEL_XOUT_H = 0x3B;
constexpr float ACCEL_LSB_PER_G = 16384.0f;

enum class AppState { Menu, Playing, GameOver };
enum class ButtonEvent { None, ShortPress, LongPress, VeryLongPress };

const char *const GAME_NAMES[] = {"Tilt Snake", "Space Dodger"};

bool readAccel(int16_t &x, int16_t &y, int16_t &z) {
  Wire.beginTransmission(IMU_ADDR_PRIMARY);
  Wire.write(REG_ACCEL_XOUT_H);

  if (Wire.endTransmission(false) != 0) {
    return false;
  }

  if (Wire.requestFrom(static_cast<int>(IMU_ADDR_PRIMARY), 6) != 6) {
    return false;
  }

  x = static_cast<int16_t>((Wire.read() << 8) | Wire.read());
  y = static_cast<int16_t>((Wire.read() << 8) | Wire.read());
  z = static_cast<int16_t>((Wire.read() << 8) | Wire.read());
  return true;
}

void beep(uint16_t frequency, uint16_t durationMs) {
  tone(BUZZER_PIN, frequency, durationMs);
}
📝 Notes
- The project was designed specifically for the Arduino Nano ATmega328P.
- The OLED display uses a large portion of the Nano's RAM, so memory usage is carefully optimized.
- Tilt direction depends on sensor orientation. If controls feel wrong, recalibrate the selected game.
- Calibration values and high scores are saved in EEPROM.
- The project works from USB laptop power and most 5V power banks.
- The unfinished fluid simulator was removed from the final version to keep the project stable and within memory limits.